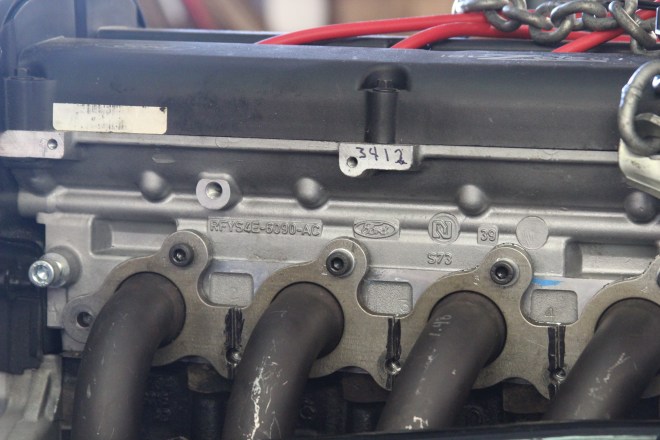
Dennis cut the single unified header flange into mini flanges. The cuts can be seen in the above photo where the Sharpie black ink lines appear between the individual exhaust pipes. Each mini flange was now independent of the others and devoted only to its individual exhaust pipe.
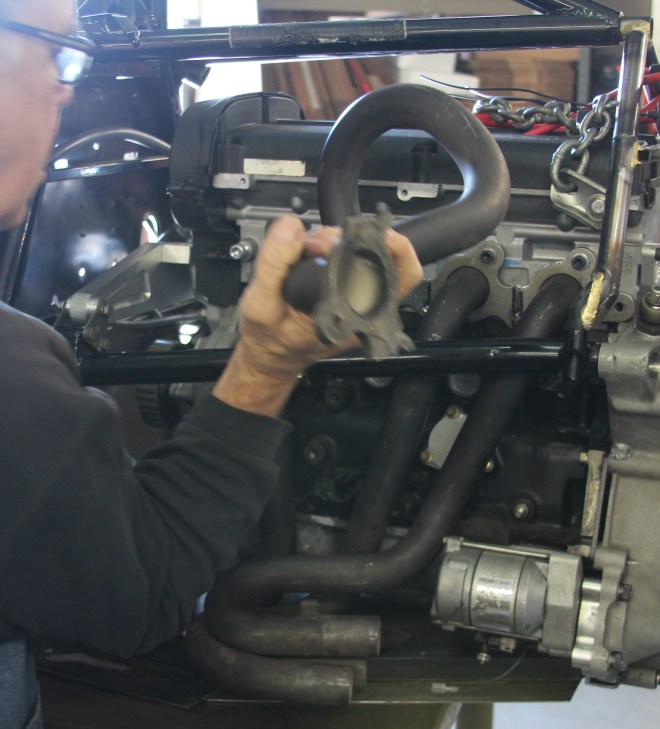
Then there was the jigsaw puzzle task of determining the sequence for recombining the header components. What finally worked was to loosely place header pipe 3 at the cylinder head. Then pipe 4. Followed by 1. And header pipe number 2 was last. No fasteners were tightened until all the header pipes were in place.
Doing the header flange cuts was but a half hour task. The trial and error phase of recombining the separated flange and exhaust pipe segments took nearly the same time.
Then another header installation complication arose.

Once the headers were bolted up to the cylinder head it became apparent that the exhaust pipe for the number 1 cylinder was rubbing up against the lower front left side engine bay brace. Rather than remove that brace, it was believed that the brace could be cut and repositioned. The first experimental attempt is seen in the photo above.
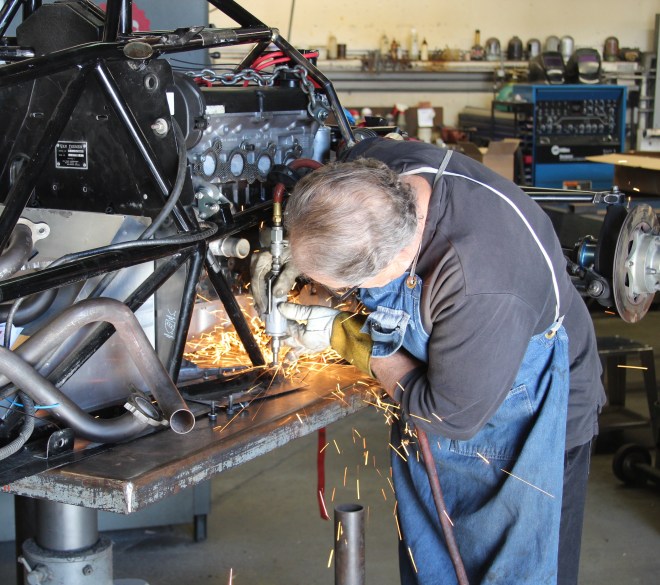
This was followed by additional grinding, cutting and re-welding which….
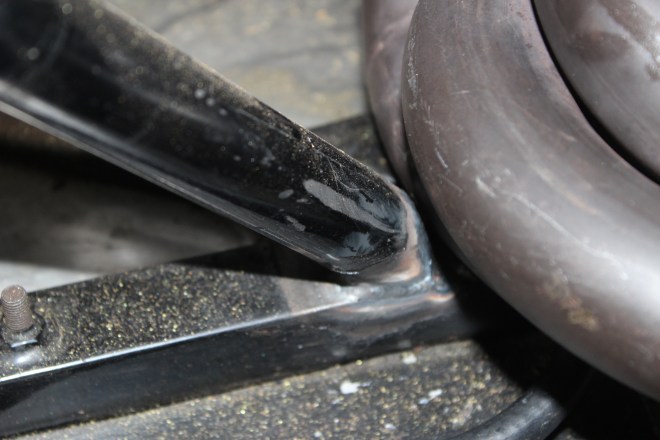
…..finally yielded sufficient clearance.
This task took an hour.
